前言
最近在 Debug U-boot 的过程中遇到了无法打断点的问题,找了好久才确定是 U-Boot 自身做 relocate 造成的,其实这个问题在 U-Boot 官方文档中有提及,所以这里做一下记录。
减少编译优化与禁用链接时间优化
为了方便调试,防止有些变量被优化掉导致 gdb 中看不到,在 U-Boot 的 defconfig 中添加如下配置
| |
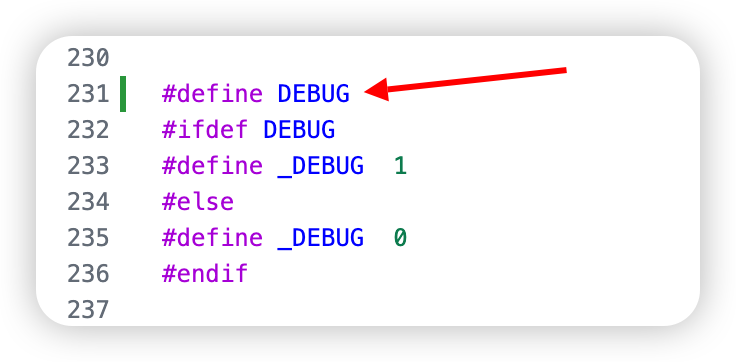
开启 U-Boot Debug 日志输出
修改 u-boot/include/log.h
U-Boot relocate 介绍
U-Boot在启动阶段会将自己的地址做重定向,一开始 add-symbol-file 时没有加地址也可以正常使用,是因为在没有 relocate 前,U-Boot 的地址与符号表中的一致。执行 relocate (u-boot/arch/arm/lib/relocate_64.S) 操作后,U-Boot 的运行地址发生变化,原来导入的符号表就不能用了,需要将符号表导入到新的地址。
U-Boot Debug 过程
第一步:添加符号表(无需指定地址)
| |
第二步:在 relocate_done 函数处打断点并运行 u-boot
| |
第三步:查看 U-Boot 重定向后的运行地址
| |
注意:
这一步中,具体的寄存器见表,我这里是 arm64 架构的,所以结构体地址存储在 x18 寄存器中:
| Architecture | Register |
|---|---|
| arc | r25 |
| arm | r9 |
| arm64 | x18 |
| m68k | d7 |
| microblaze | r31 |
| mips | k0 |
| nios2 | gp |
| powerpc | r2 |
| riscv | gp |
| sh | r13 |
第四步:删除原先符号表
| |
第五步:将符号表加载到重定向后的地址
| |
注意:
是否重新导入符号表取决于打断点的位置,如果在 relocate 操作前则不需要,反之则需要。